

This craft is an ideal convergence of two of my favorite pastimes -- gardening and reading. It came out so well, that I am thinking of making more for holiday gifts. I have many friends who share my plant and book obsessions -- it will be fun to match a vintage title with their interests.
For this project, I sorted through a box of old volumes in my attic recently and chose a book that I thought would be a good candidate for this craft. It was a hardback sci-fi tale with a few torn pages and a missing book jacket.
For some people, using a book may seem like heresy, but as someone who has volunteered at a library book store for years and has seen how many books go in the incinerator or are "remaindered" in a dumpster because they are not in sellable shape, I can attest that being re-made as art or decor is a much better fate for a slightly damaged book. If you have a book in less-than-perfect shape, you might consider this, rather than trying to donate it knowing it will likely get destroyed if it is not in close to perfect condition.
Level: easy Cost: inexpensive Use: gardening/decor

Materials:
- Exacto knife or box cutter
Step 1: Open up the book to about 10 pages in and crease it open. Put a heavy weight on the open book to keep it open. (I used a large ceramic pot.) Then spread Mod Podge using a foam brush liberally around the ends of the pages that you will be cutting a hole into later. Let it drive overnight. (I did a second layer of Mod Podge to be super-secure.)
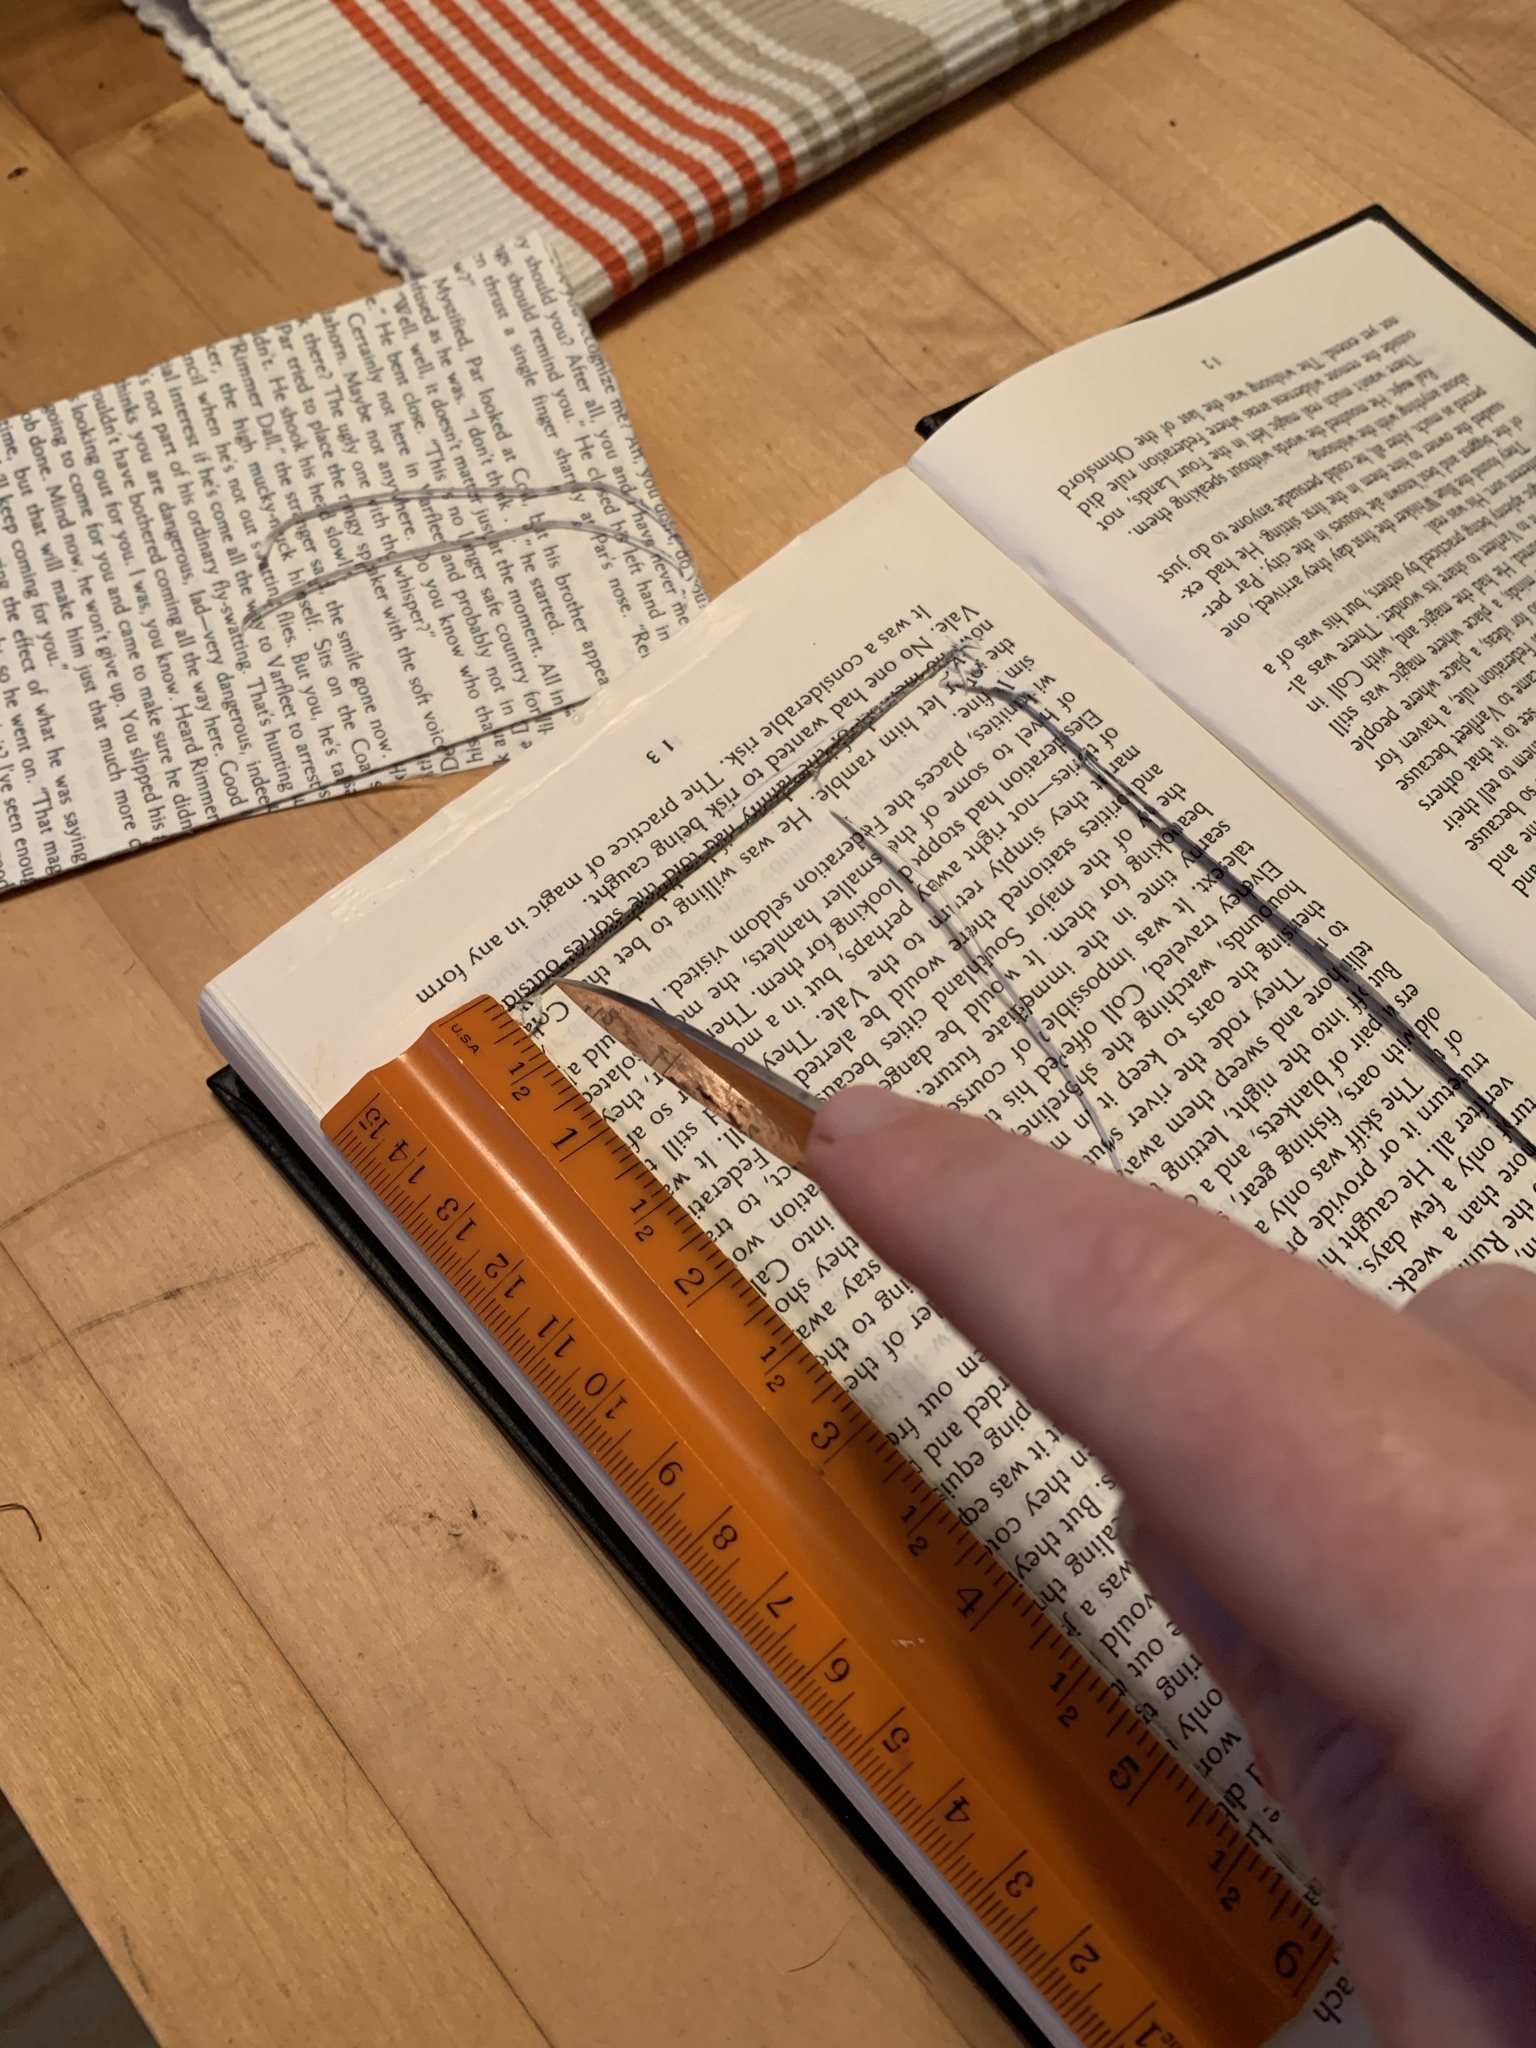
Step 2: Measure in an inch from the page edges with a ruler and then begin cutting out the inner part of the page to create your planting hole. This is the longest and most tedious part of the process. To get through 150+ pages it took me a few hours total. I rested my hands and wrists when they started to get tired. I did it over a few days --working for about a half-hour at a time. Switch out the blade on your knife for a new one when the old one gets dull. The page cuts don't have to be perfect as you are lining and they will be hidden. Be careful not to rush or get distracted, so you don't cut yourself!
Step 3: Once you have excavated your planting hole. Line it with a plastic bag.

Step 4: Scoop some potting mix into the plastic lining and then plant your succulents inside it. Arranges as you like.
Step 5: Trim off any plastic sticking out around the planting hole's edges.
Step 6: Place decorative pebbles around the succulents and covering any bare potting mix. You can also use Spanish moss or aquarium gravel for this.

- Choose succulent plants that are small and shallow rooted. Once they grow larger, you may want to pull them out and replace them with new, smaller selections.
- About once a week, sprinkle the succulents with a bit of water. Try not to water the surrounding book pages.
- Display the finished book planter on a stack of books on a side table in a sunny space.
- Some people cut out the hardback cover and plant through that. This results in plantings coming out of the front of a closed book, but I personally like the look of an open book myself.
This post contains affiliate links, which means that if you click on one of the product links, I’ll receive a few pennies from Amazon.
This is a monthly blog series on DIY projects for the beginning home gardener. Look for the other installments in this DIY blog series by putting "DIY" in the search box here at washingtongardener.blogspot.
Pin This For Later!


.jpg)
No comments:
Post a Comment