Showing posts with label flamingo. Show all posts

Monday, March 01, 2021

DIY: Flamingo Planter


This flamingo planter will be part of our Petal Porch decoration (see more about that event here). I recycled an old yard flamingo from my collection as I could not bring myself to sacrifice a new one.

WARNING! This craft is fairly easy to make, but due to the
 SHARP plastic edges and use of a knife, I would not recommend this for children and advise that you use extreme caution when working on it yourself.
Level: moderate   Cost: inexpensive   Use: gift/decorative 


Materials:


Step 1: 
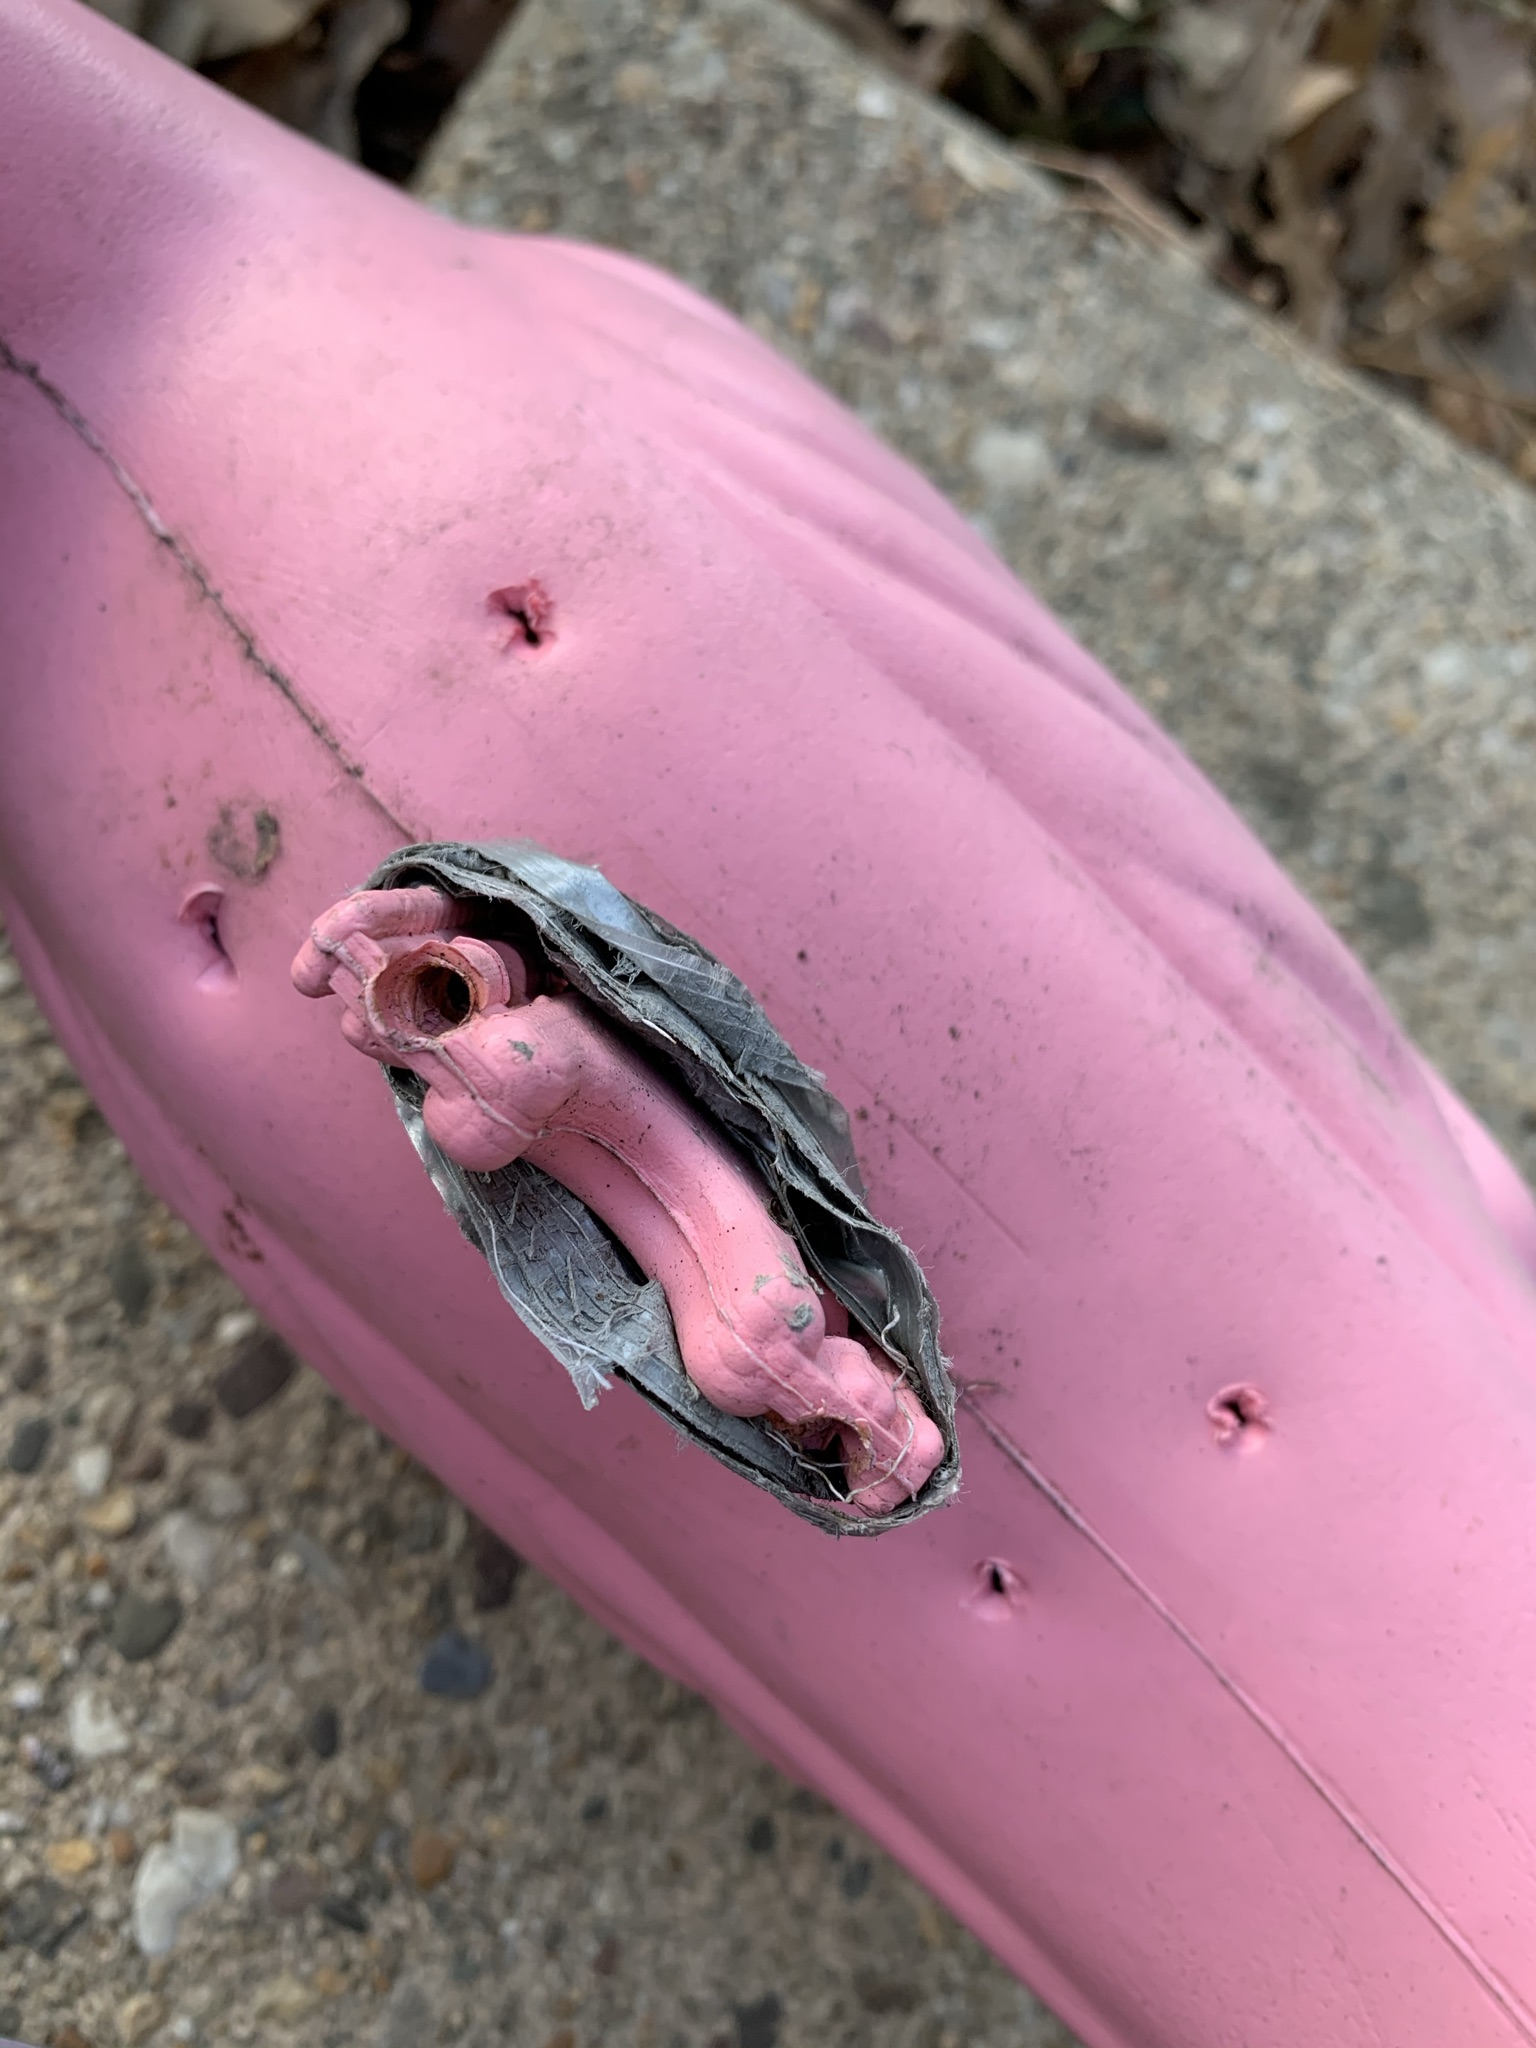
Put on leather gloves and clamp flamingo tightly in a vise so that it does not slip. Take out the metal legs.
Step 2: Puncture the bottom of the flamingo to make 3-4 holes for drainage.
Step 3: Turn it over and cut a slip in the middle of the back. Then cut a square around that slit. Bending in the two long sides to create an opening of about 4 inches long and 3 inches wide. (Go bigger if your plant is larger.)
Step 4: Fill the inside of the flamingo with potting mix.
Step 5: Place your plant in the potting mix and fill in soil around it. 
Step 6: Water and let drain.
Step 7: Replace the metal legs and place the flamingo in your garden.


Tips and Care:
  • Depending on the plant you pick, you may need to water it frequently.
  • You may also want to change out the plant seasonally or as the flowers fade. In this demonstration I used a clump of crocus bulbs from my garden. Once those blossoms drop, I will switch out to pansies for spring, then petunias for summer.
  • You can paint and decorate your flamingo as well. See our Flamingo Makeover project too.

This post contains affiliate links, which means that if you click on one of the product links, I’ll receive a few pennies from Amazon.
This is a monthly blog series on DIY projects for the beginning home gardener. Look for the other installments in this DIY blog series by putting "DIY" in the search box here at washingtongardener.blogspot.com

Pin This For Later!


Monday, August 01, 2016

DIY: Yard Flamingo Facelift


Is your yard flamingo looking a little faded and worn? Or are you just sick of its pinky-pink coloring and want to give it a whole new look? By following these easy instructions your yard flamingo will be looking refreshed in no time at all!


Supplies (may contain affiliate links):
 
~ Spray paints*
~ Acrylic paints
~ Foam paint brushes
~ Wire coat hangers or stakes from old political yard signs
~ Wire cutters
~ Cardboard or tarps
~ Painter's tape
~ Gloves
~ Finishing spray coat
~ Optional: Hot glue gun, glitter, fabric, beads, and other accessories

*Rust-oleum's Berry Pink and Krylon's Cerise are the closest shade I've found to the original flamingo color.

In the instructions below, I describe how you re-fresh a classic yard flamingo. If you want to do a total makeover (see examples at the bottom of the post), then you would follow similar steps then embellish as you wish.

Steps:

1. Clean off any soil or dust from your flamingo with a damp cloth and then let your bird dry.

2.  If the legs are missing or broken, now is a good time to cut new ones to your desired height and insert them into the flamingo. Different flamingos vary in how the legs are attached, but it should be fairly easy to do so -- a second pair of hands may make it easier.

3. On a calm (non-windy) day, lay down your tarp or cardboard and shake up your spray paint can. You can use the painter's tape to tape off the legs and beak area on your bird. Spray paint your bird using a steady back-and-forth sweeping action for all-over coverage. Don't go too close as the paint will drip and run.

4. Let your flamingo dry. It helps to have a foam block or other place to stand them in so they don't fall and mess up their new paint job.

5. Once dry, now is the time for detail work. If you put on painter's tape, carefully remove it. Take yellow acrylic paint and a foam brush and paint the beak and eye area. Let it dry. Then come back with black paint to paint down the front of the beak and dot in an eye pupil.

6. Spray on a clear finishing coat, if desired.

Here are a few ideas for flamingos with new looks:

ballerina/princess
buzzard
unicorn/my little pony

The only limit to your flamingo re-do is your imagination!

This is a monthly guest blog series on DIY projects for the beginning home gardener. Look for the other installments in this DIY blog series by putting "DIY" in the search box here at washingtongardener.blogspot.com.

PIN THIS FOR LATER:

Wednesday, August 26, 2015

Video Wednesday: Flamingo Collecting


Here is the collection of Yard Flamingos at the Washington Gardener Magazine headquarters garden in downtown Silver Spring, MD. Count along!

On of our summer interns, Daven Desai, shot the video. Enjoy!

Featured Post

Holiday Gifts for Gardeners ~ Top Gardening Gifts ~ 21+ Cool Gardening Gift Ideas

The holiday season is here and I bet you have a gardener on your gift list, so we've   updated   our annual a Holiday Gifts for Gardener...

Most Popular Posts