


If you are a baker, you probably have everything you need to make this craft on-hand. The only special material is the paper clay, which is amazingly easy to work with and does not require baking or any other treatment.

Level: easy
Cost: minimal
Use: holiday/gift/self
Materials:
Wax Paper
Paper Clay
Rolling Pin
Acrylic Craft Paint
Biscuit Cutter
Baking Sheet
Spatula
Skewer
Butterfly/Nature-shaped Stamps
Plant Stamps
Alphabet Stamps
Earring or Necklace Jump-rings
Cording
Gel Pens
Plant Sprigs from Your Garden (like rosemary)
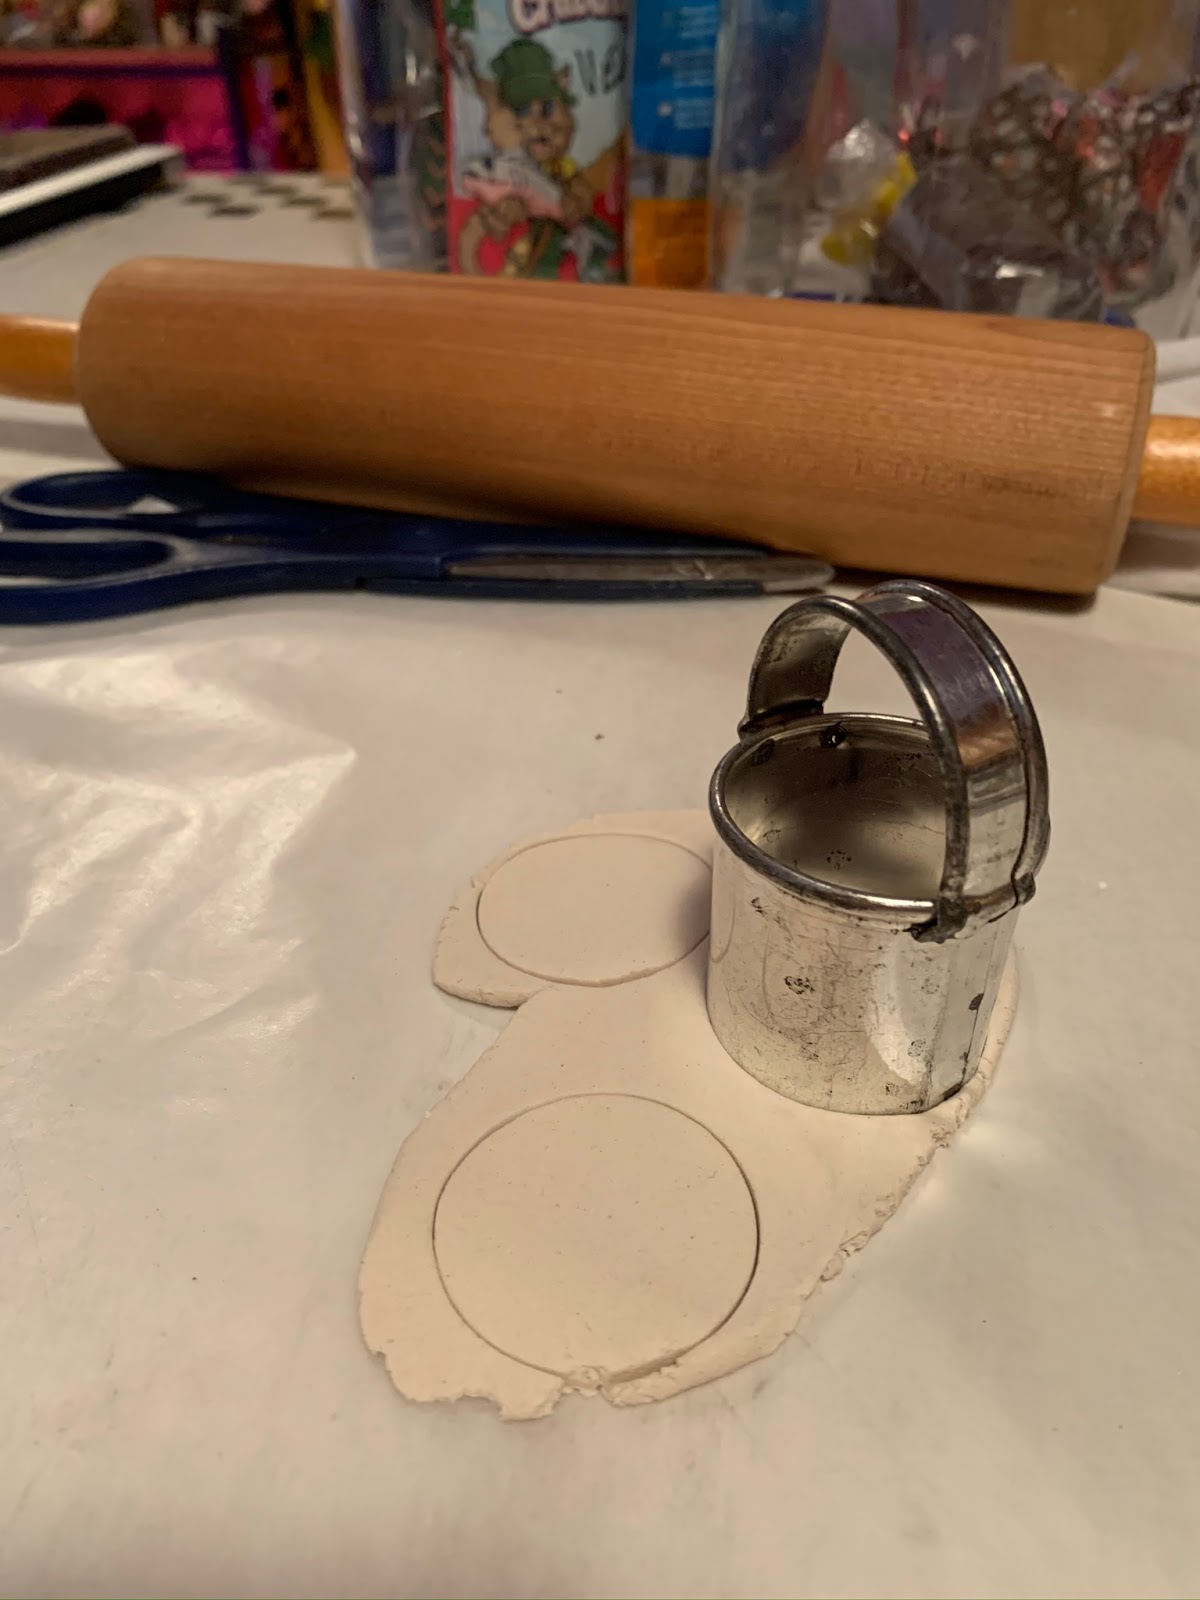
Step 1: On a sheet of wax paper, Take a section of paper clay and roll it out like a cookie dough.
Step 2: Cut out circles with biscuit cutters. (For the smaller, earring-size circles we used a bottle cap.)

Step 3: Punch a hole at the top of the circle with the flat end of a skewer.
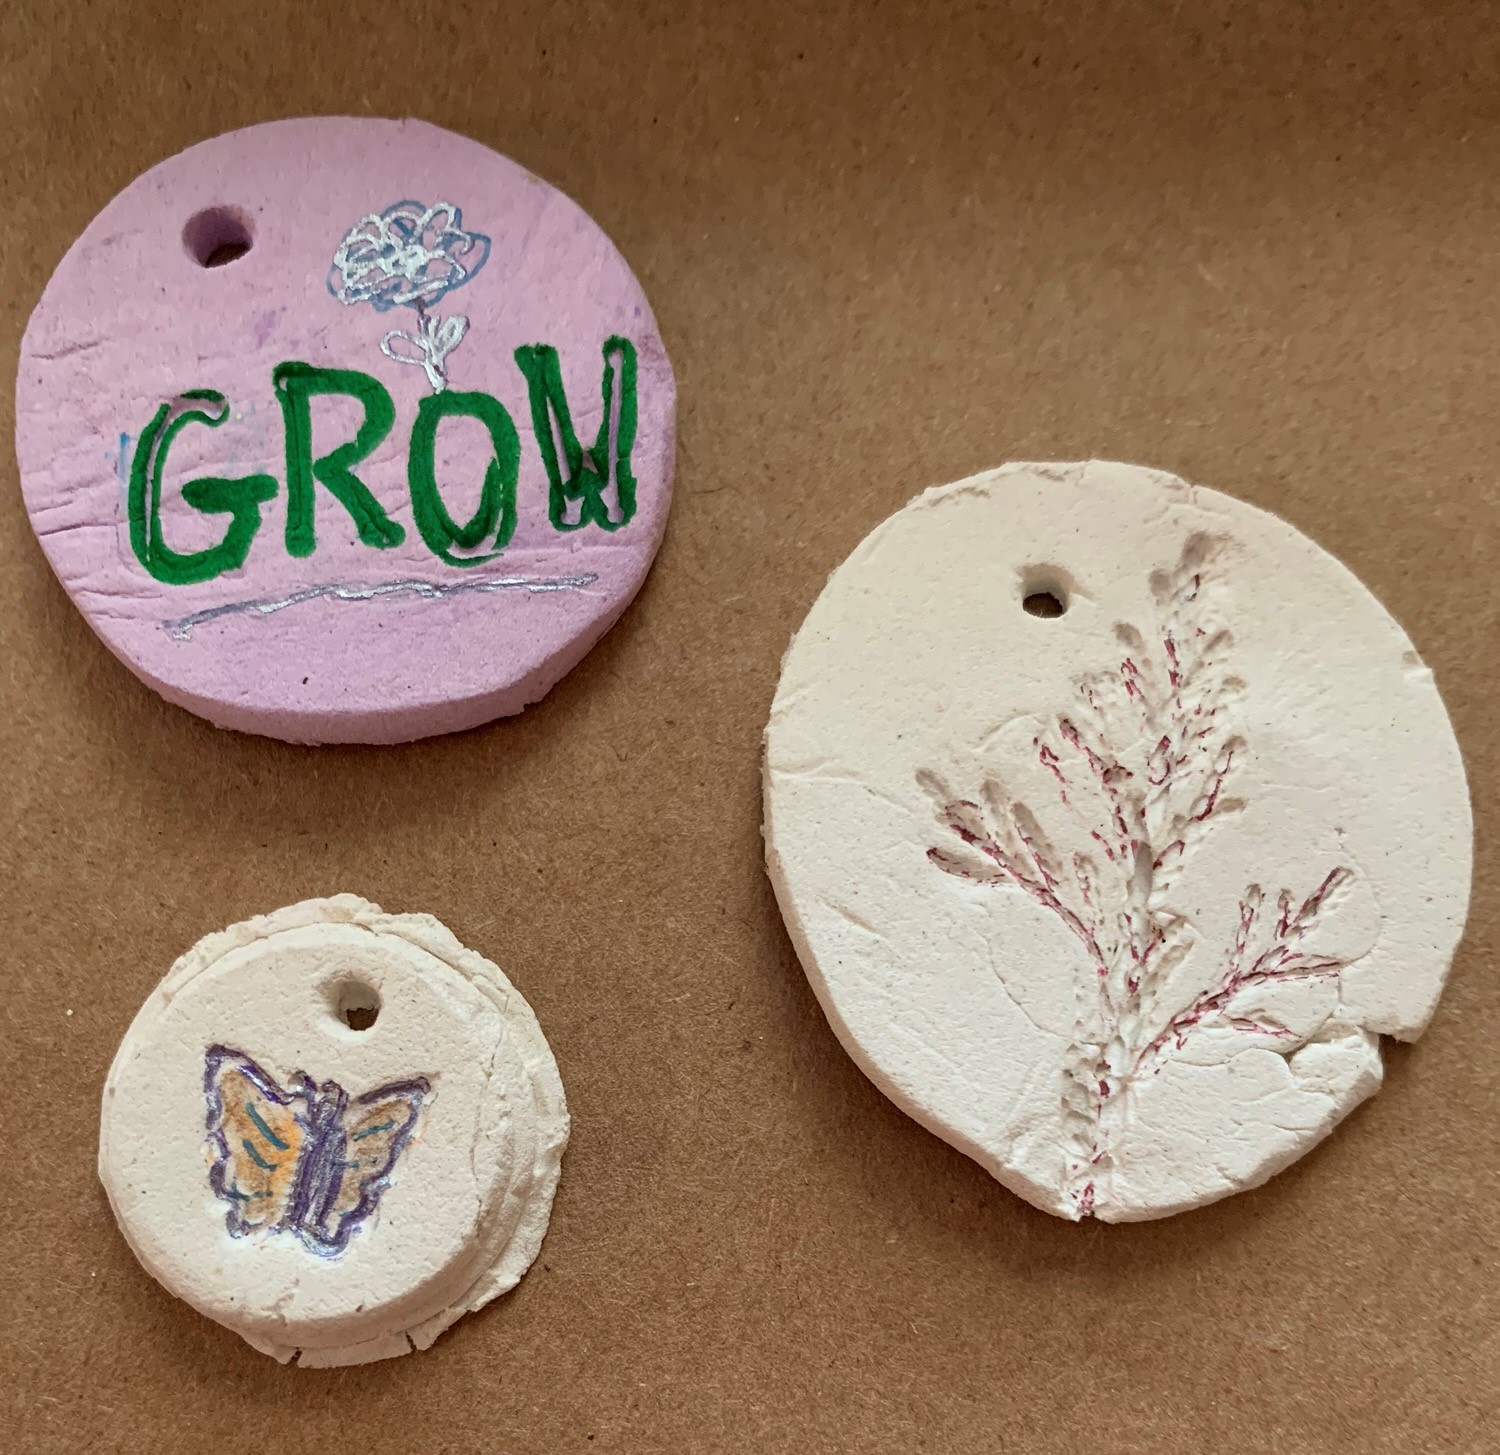
Step 4: Press in designs on the circles with plant sprigs or craft stamps. This may take a bit of practice to perfect as you don't want to press too hard and leave an impression from the edge of the stamps. (See tips below.)

Step 5: Carefully move the circles on the wax paper to a baking sheet and put another piece of waxed paper on top. Then layer on a few books.
Step 6: Let dry for a week or so.
Step 7: Paint or decorate as desired. We used gel pens, which helped with precision.
Step 8: String cord through the hole and tie the ends to wear as a necklace. Use a jewelry kit to put a jump-ring through the hole and create earrings.
Tip 1: If you press in a sprig, use the skewer to gently lift it up so you don't damage your design.
Tip 2: Each circle has two sides, so you can practice on one side and do your final design on the other.
Tip 3: If you really dislike your design, just ball up the clay and re-roll it and start again at step 1.
Tip 4: The weight prevents warping as the circles dry, but don't make it too heavy as to squash your designs!
Optional: If you want color in your dough, add in a few drops of acrylic craft paint and knead it into the dough well. Note that this may take 5-10 minutes of kneading to thoroughly distribute the color.
This post contains affiliate links, which means that if you click on one of the product links, I’ll receive a few pennies from Amazon.
This is a monthly blog series on DIY projects for the beginning home gardener. Look for the other installments in this DIY blog series by putting "DIY" in the search box here at washingtongardener.blogspot.


No comments:
Post a Comment