
Guest blog by Daisy-Nelly Nji
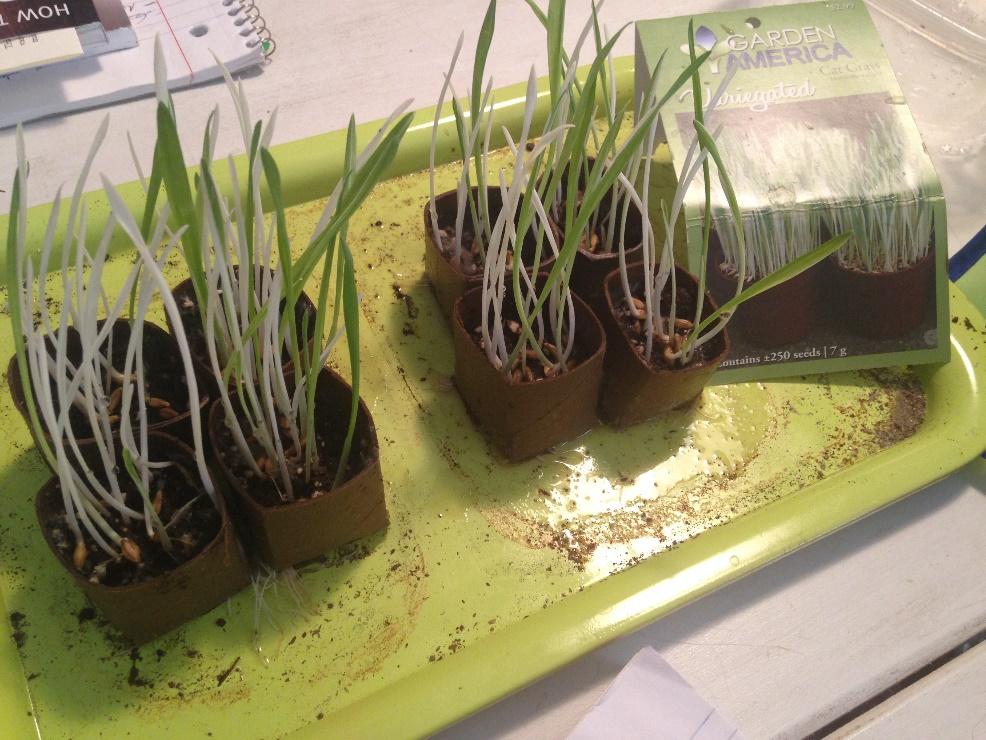
These easy seed-starting pots can be made by the dozen and can be directly planted in soil after the seeds have sprouted as the paper rolls will decompose.
Materials:
Empty toilet paper or paper towel rolls
Watering can
Seeds (we used cat grass)
Tray
Clear, plastic container
Soil-less seed-starting mix
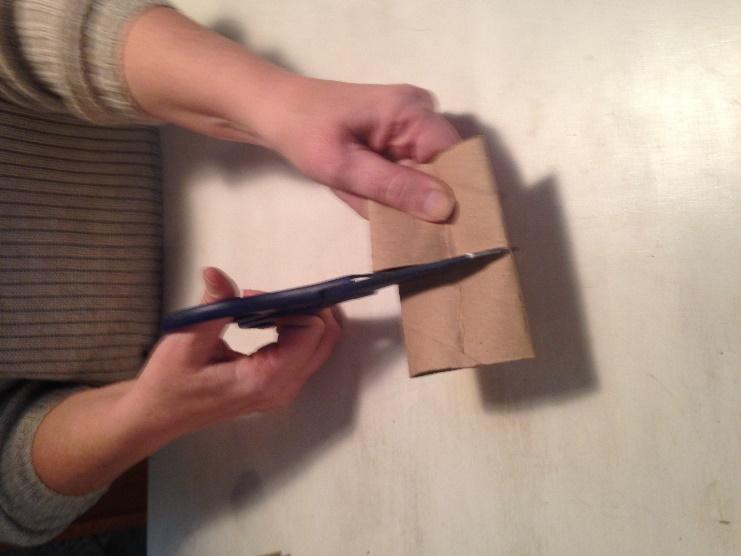
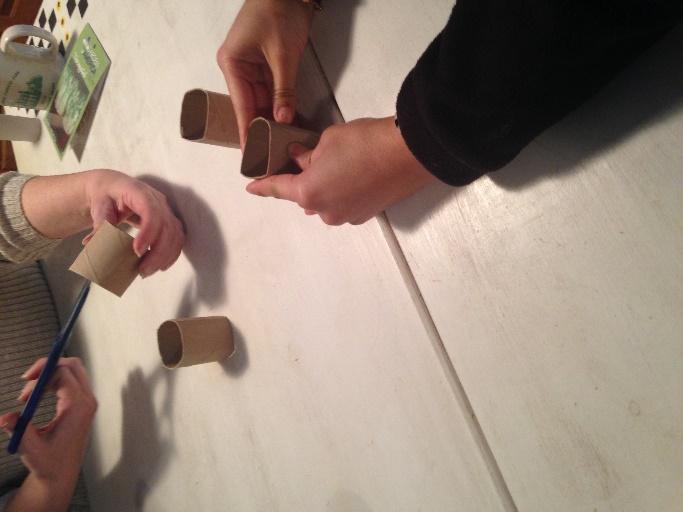
Step 1: Fold the roll into a square. By first folding the roll in half one way. Then, folding it in half the other way.
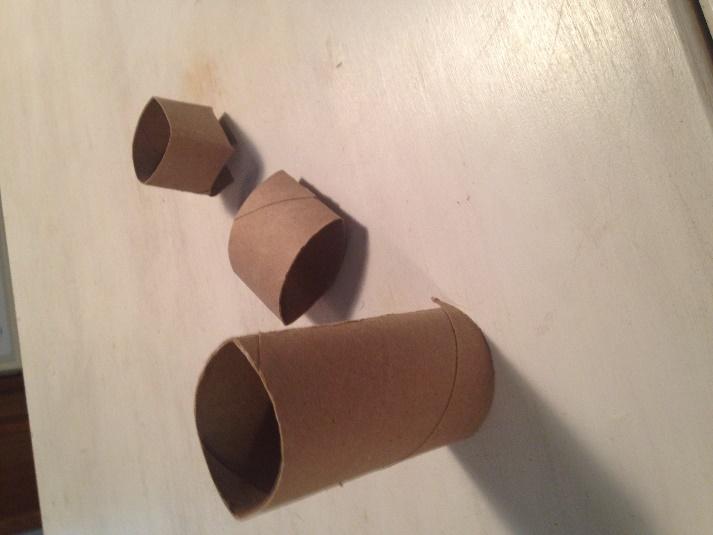
Step 2: Cut the toilet paper roll in half. Fold the roll in half one way and make a 3/4-inch cut, then fold the roll in half the other way and make another 3/4 inch cut. You should have 4 cuts in total on the bottom of your roll. Repeat this step on the other roll.
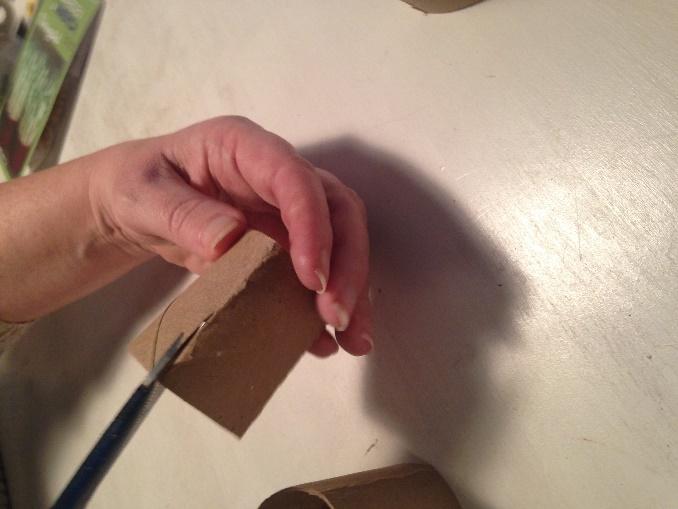
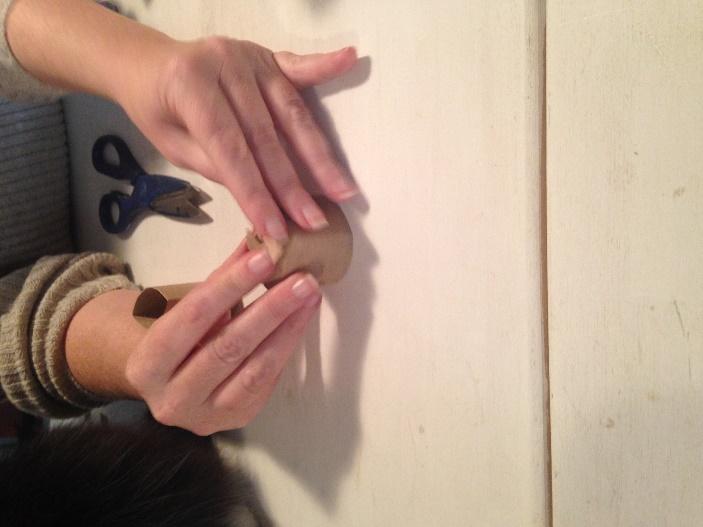
Step 3: Fold the bottom flap down first, then fold the left flap down, overlapping the bottom flap, then fold the top flap down, overlapping the left flap. Now here's the tricky part. Fold the right flap under the bottom flap and over the top flap. This holds the pot together. Repeat this step on the other pots.
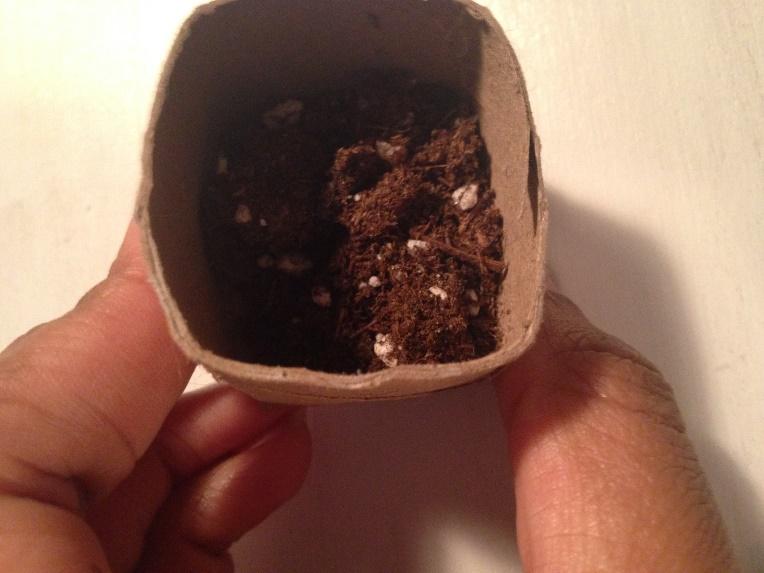
Step 4: Fill the pot halfway with soil.
Step 5: Soak the soil with water. Then press out the excess water with your fingers.
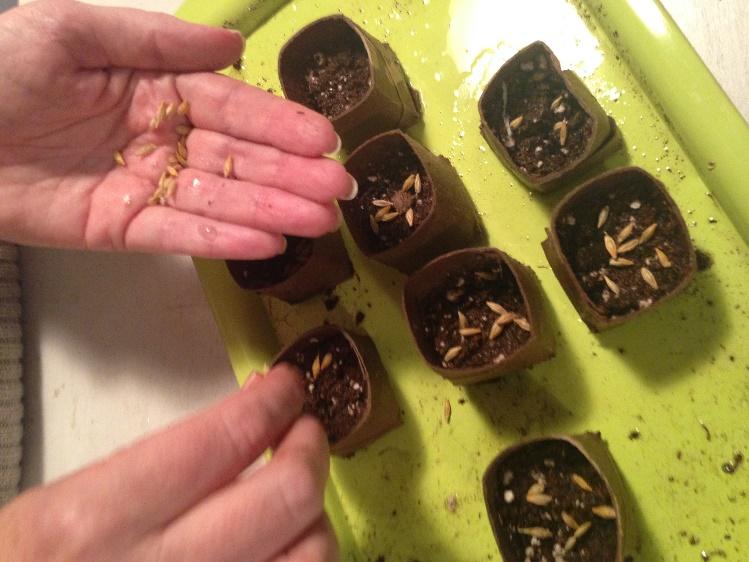
Step 6: Add 2-3 seeds to each pot
Step 7: Add a tiny bit more soil to cover the seeds.
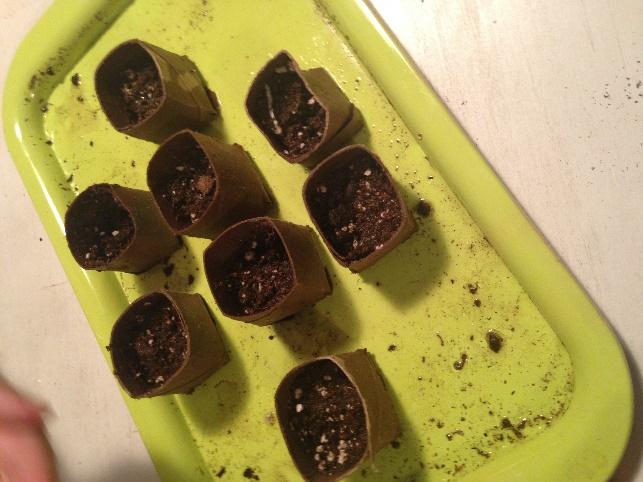
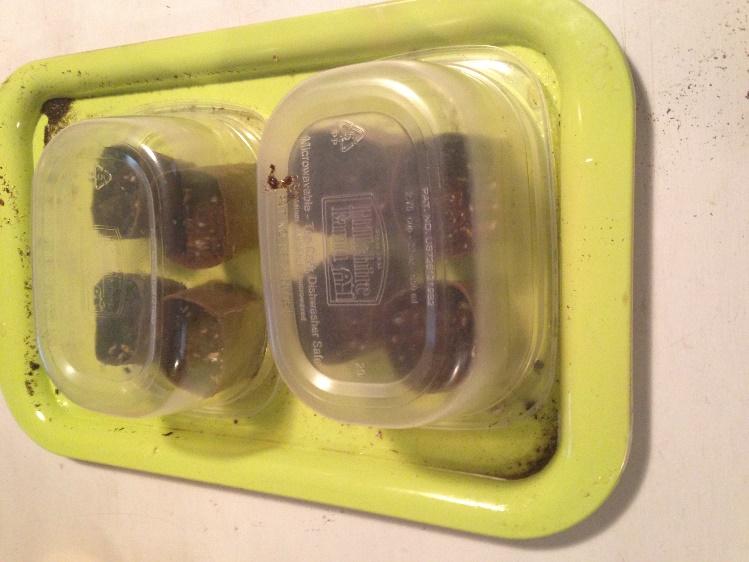
Step 8: Place the pots on a tray and put a plastic bowl on top of the pots to seal in moisture.
Step 9: Put in a sunny window. Check on them daily. Watering the seed pots as needed. After about two weeks your plants should begin to sprout and grow.
Step 10: Remove the plastic bowl and continue to care for the seedlings until they are ready to transplant to a bigger container or outdoors. Enjoy!

About the Author
Daisy-Nelly Nji is a senior journalism student at the University of Maryland. She is a multi-platform journalism major in the Philip Merrill College of Journalism. This spring, she is an editorial intern at Washington Gardener Magazine.
This is the re-boot of our monthly blog series on DIY projects for the home gardener. Look for the other installments in this DIY blog series by putting "DIY" in the search box here at washingtongardener.blogspot.


.jpg)
Thank You!!!
ReplyDeleteJust made some and planted them,
Yes what a great idea.
Paul
Thanks! Good luck with your new seedlings.
Delete- KJ